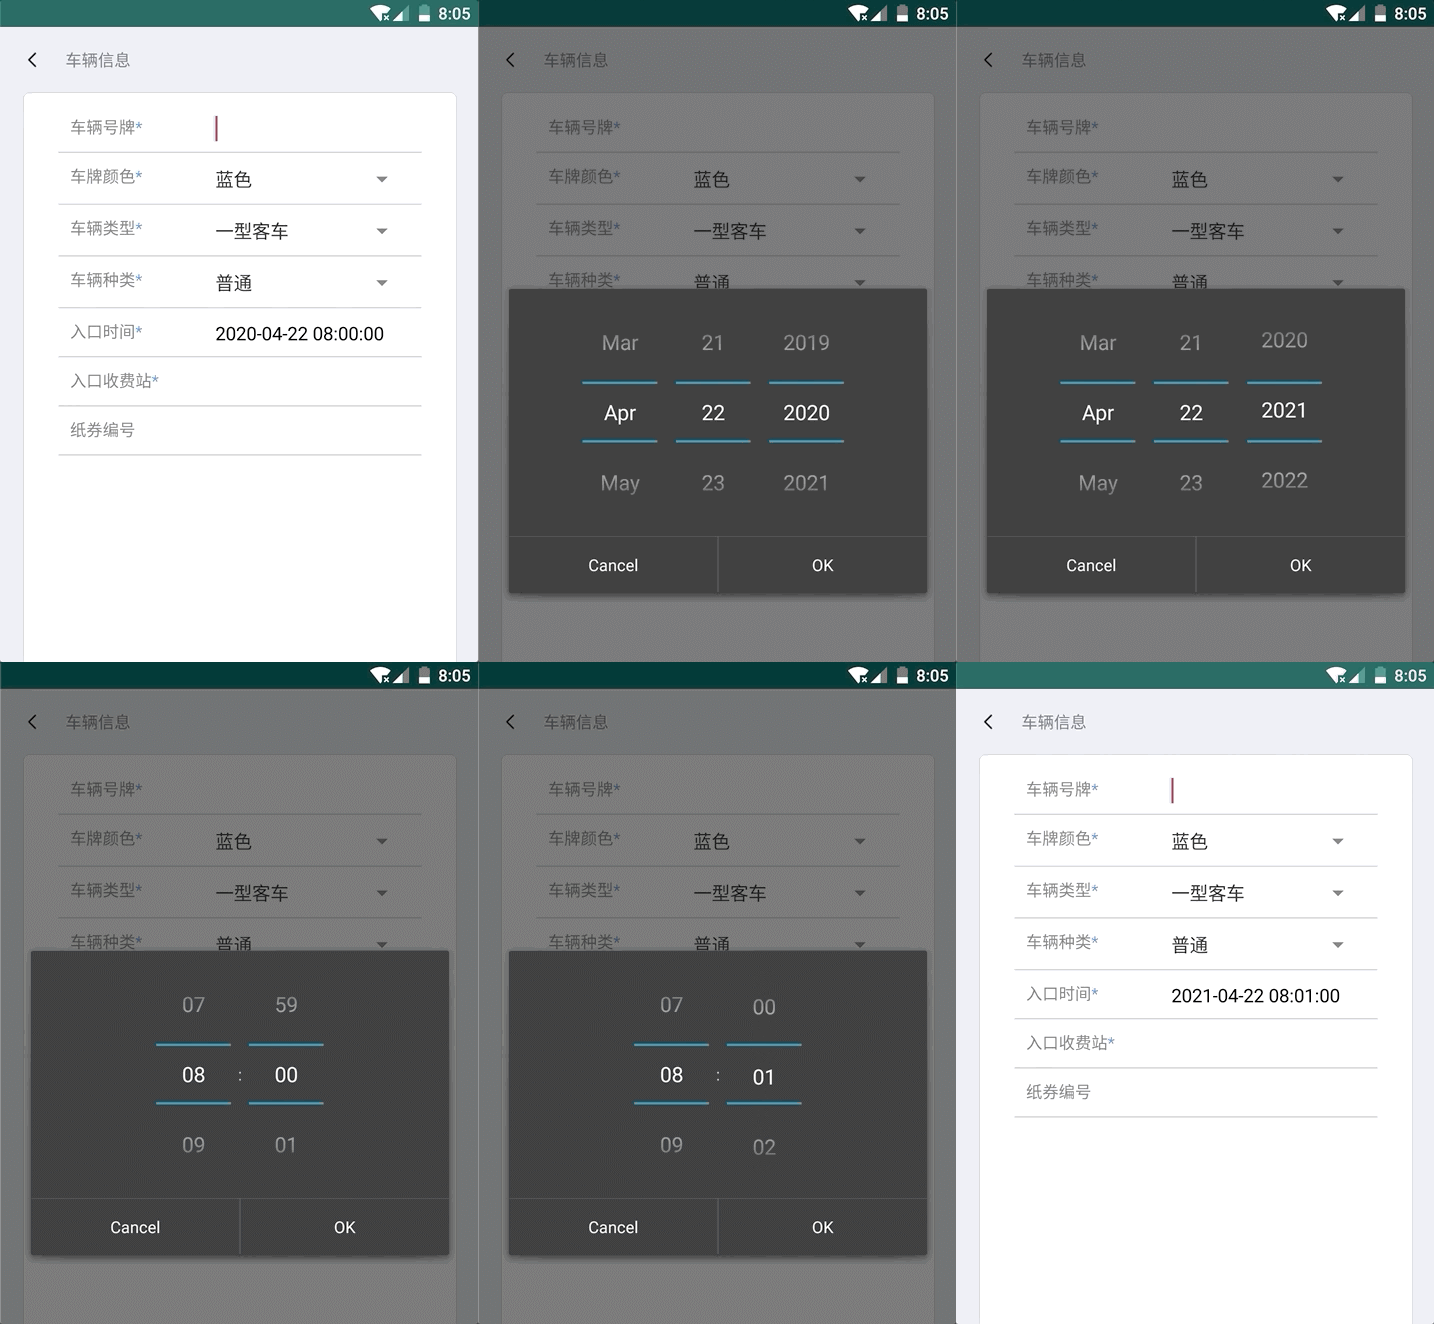
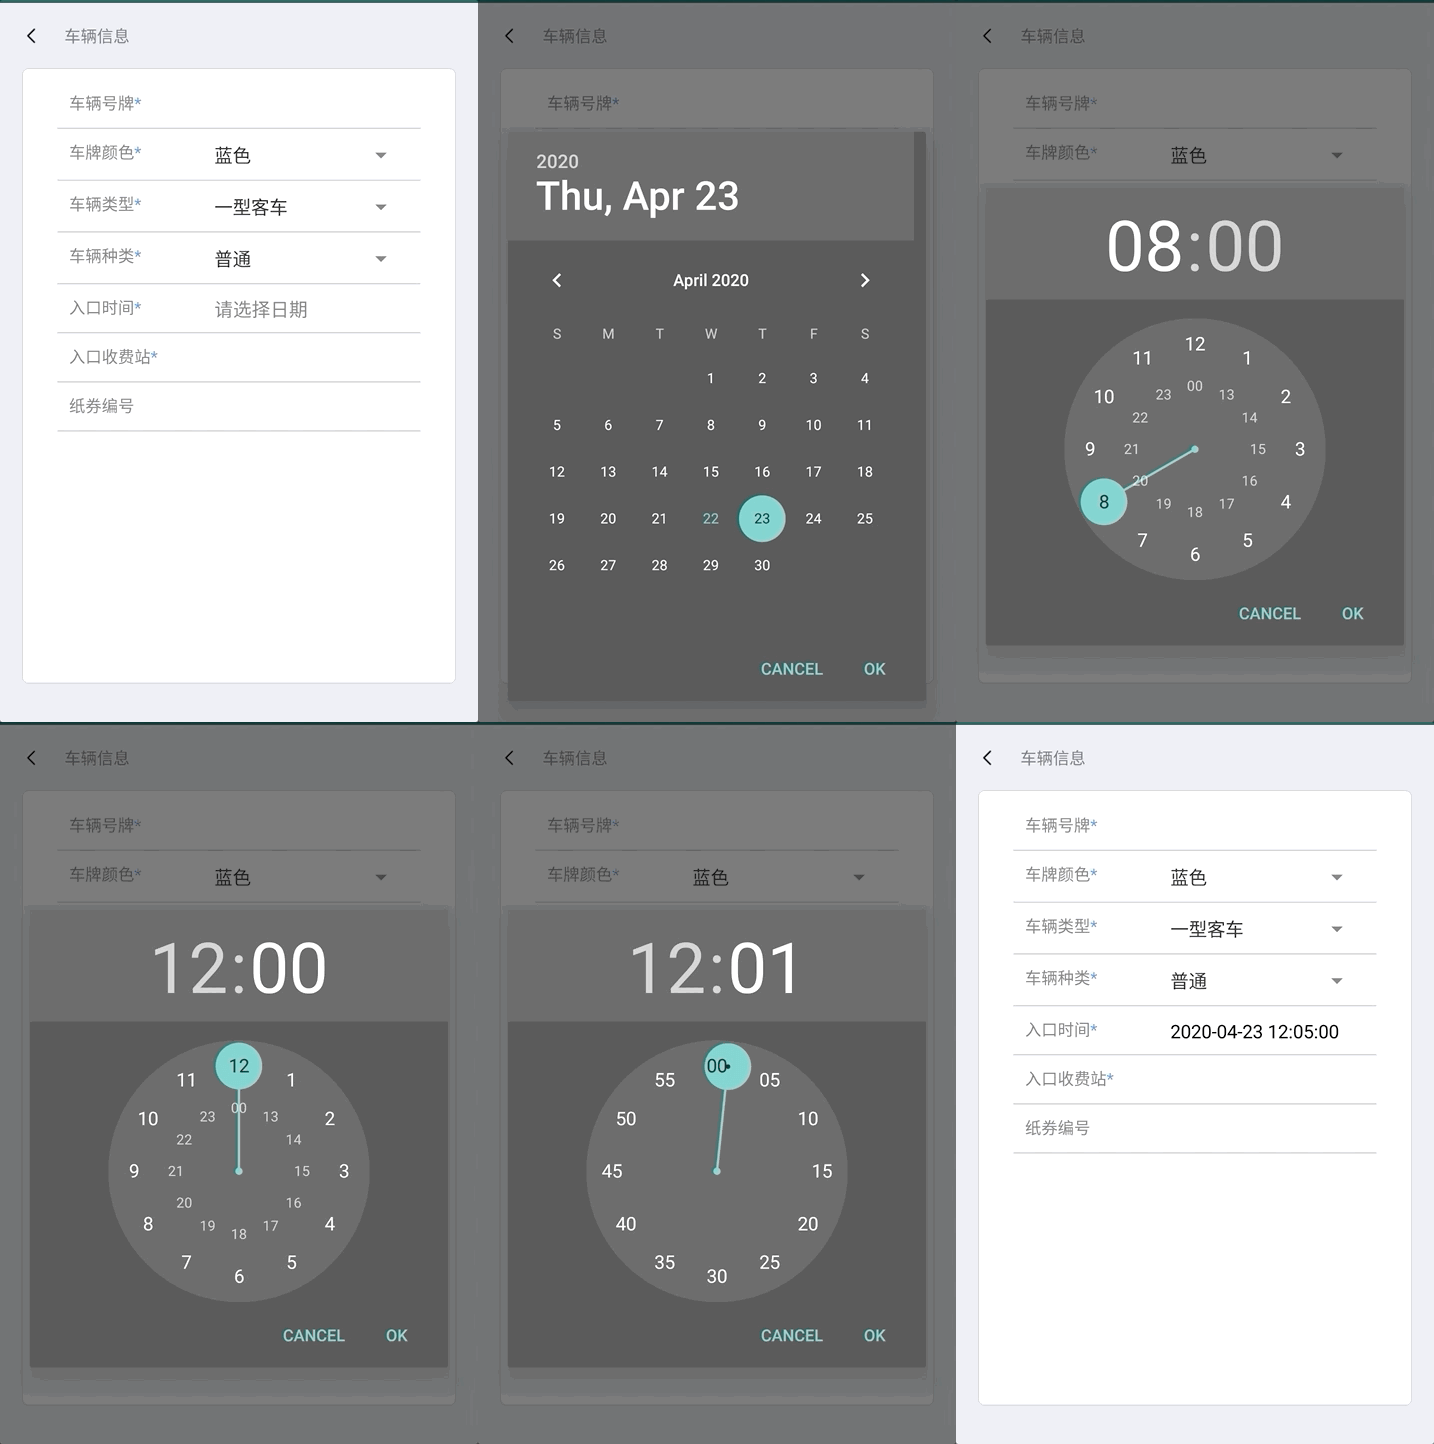
Android原生控件中时间日期是分开的,但是有时我们的实际工作中可能是需要两个联动选择的,这时就需要我们自己将两个控件组合起来封装了一个工具类.


一. 创建工具类
关于控件主题以原生为主,大家可以修改themeId进行对应修改,上图就分别是主题2和主题4.绑定控件直接将TextView类型修改为对应控件对象就行.
1
2
3
4
5
6
7
8
9
10
11
12
13
14
15
16
17
18
19
20
21
22
23
24
25
26
27
28
29
30
31
32
33
34
35
36
37
38
39
40
41
42
43
44
45
46
47
48
49
50
51
52
53
54
55
56
57
58
59
60
61
62
63
64
65
66
67
68
69
70
71
72
| package com.myllcn.specialdeal;
import android.annotation.SuppressLint;
import android.app.DatePickerDialog;
import android.app.TimePickerDialog;
import android.content.Context;
import android.os.Build;
import android.support.annotation.RequiresApi;
import android.widget.DatePicker;
import android.widget.EditText;
import android.widget.TextView;
import android.widget.TimePicker;
import java.util.Calendar;
public class DateTimePicker implements DatePickerDialog.OnDateSetListener,TimePickerDialog.OnTimeSetListener{
private static Context context;
private static DatePickerDialog datePickerDialog;
private static TimePickerDialog pickerDialog;
private static Calendar calendar;
private static TextView editText;
private String dt = "";
Integer themeId = 2;
@SuppressLint("ResourceType")
@RequiresApi(api = Build.VERSION_CODES.N)
public void init(Context context1, TextView editText1)
{
calendar=Calendar.getInstance();
editText=editText1;
context=context1;
datePickerDialog=new DatePickerDialog(context,themeId,this, calendar.get(Calendar.YEAR), calendar
.get(Calendar.MONTH), calendar
.get(Calendar.DAY_OF_MONTH));
datePickerDialog.show();
}
@Override
public void onDateSet(DatePicker view, int year, int month, int day) {
dt = String.valueOf(new StringBuilder()
.append(year)
.append("-")
.append((month + 1) < 10 ? "0"
+ (month + 1) : (month + 1))
.append("-")
.append((day < 10) ? "0" + day : day));
initTimePicker(context);
}
public void initTimePicker(Context context1){
context=context1;
pickerDialog=new TimePickerDialog(context,themeId,this,8,00,true);
pickerDialog.show();
}
@Override
public void onTimeSet(TimePicker view, int hourOfDay, int minute) {
String s=(hourOfDay<10?"0"+hourOfDay:hourOfDay)+":"+(minute<10?"0"+minute:minute)+ ":"+ "00";
dt = dt +" "+s;
editText.setText(dt);
}
}
|
二. 使用:
1
2
3
4
|
final DateTimePicker dateTimePicker = new DateTimePicker();
dateTimePicker.init(context, textView);
|
- context: 上下文对象
- textview: 我们需要绑定textview对象,如果想要适应editText,那么需要将第一步工具类里面的数据类型也换成edittext.
三. 如果还需要获取事件日期选择完的事件,那么可以采用addTextChangedListener监听.
1
2
3
4
5
6
7
8
9
10
11
12
13
14
15
16
| textView.addTextChangedListener(new TextWatcher() {
@Override
public void beforeTextChanged(CharSequence s, int start, int count, int after) {
}
@Override
public void onTextChanged(CharSequence s, int start, int before, int count) {
}
@Override
public void afterTextChanged(Editable s) {
}
});
|


